


How To - Your Questions Answered
We have compiled a comprehensive knowledge base of articles to help you with your quilting and design. Select an artlcle to read it.
Assemble the Rag Quilt
Stage 1
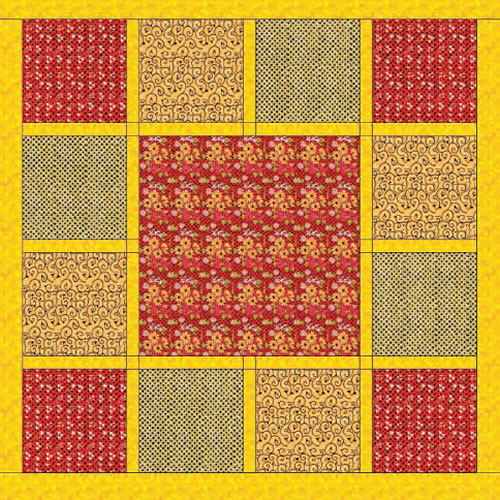
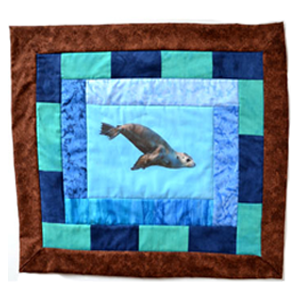
1. The rag quilt has eight rows. Each row contains nine blocks with plain squares separating the six-patch blocks.Stage 1
1. The rag quilt has eight rows. Each row contains nine blocks with plain squares separating the six-patch blocks.Stage 2
2. Use your fingers to press seam allowances in opposite directions as you match rows for sewing. Use straight pins through all layers to keep edges aligned and remove pins as the sewing machine needle approaches them.Stage 2
2. Use your fingers to press seam allowances in opposite directions as you match rows for sewing. Use straight pins through all layers to keep edges aligned and remove pins as the sewing machine needle approaches them.Stage 3
3. Sew the rows together as shown in the photograph. Be sure to align rows wrong sides together and sew with a 2.5cm seam allowance.Stage 3
3. Sew the rows together as shown in the photograph. Be sure to align rows wrong sides together and sew with a 2.5cm seam allowance.Stage 4
4. Clip into the seam allowance to encourage fraying when the quilt is washed. I have found it easier to clip the seams as you go.Stage 4
4. Clip into the seam allowance to encourage fraying when the quilt is washed. I have found it easier to clip the seams as you go.Stage 5.
5. You can use any type of sharp scissors to make the clips, but spring loaded scissors that open automatically, after each cut keep your hands from from becoming tired.Stage 5.
5. You can use any type of sharp scissors to make the clips, but spring loaded scissors that open automatically, after each cut keep your hands from from becoming tired.Stage 6
 6. Make clips straight into every seam allowance.
 Stage 6
6. Make clips straight into every seam allowance.  Be careful to clip in only one direction at seam intersections.
Be careful to clip in only one direction at seam intersections.
Be careful to clip in only one direction at seam intersections.  Clipping in two directions in those areas removes chunks of fabric, resulting in gaps along frayed edges.
Clipping in two directions in those areas removes chunks of fabric, resulting in gaps along frayed edges.
Clipping in two directions in those areas removes chunks of fabric, resulting in gaps along frayed edges. Stage 7
 7. Take a minute to look at the backs of your quilt blocks.
 Stage 7
7. Take a minute to look at the backs of your quilt blocks.  They have the finished look that we normally see on the top side of the quilt, making the rag quilt easily reversible.
They have the finished look that we normally see on the top side of the quilt, making the rag quilt easily reversible.
They have the finished look that we normally see on the top side of the quilt, making the rag quilt easily reversible. 